


Wooden Floors: The Complete Installation Guide
Wooden floors deliver lasting beauty and warmth. Master installation steps, subfloor prep, humidity control, and finishing techniques for enduring elegance.
TABLE OF CONTENTS
- Wooden Floors: The Complete Installation Guide
- Why Wooden Floors Are the Right Choice for Your Home
- Types of Wooden Floors: Solid, Engineered, and Laminate Explained
- How to Choose the Best Wooden Floors for Your Space
- Tools and Materials You Need Before Installing Wooden Floors
- Subfloor Preparation: The Foundation of Flawless Wooden Floors
- Humidity and Acclimatisation: Protecting Your Wooden Floors Before Fitting
- Step-by-Step Installation Process for Wooden Floors
- Fitting Wooden Floors Around Doors, Skirting Boards, and Obstacles
- Finishing and Sealing Wooden Floors for Long-Term Durability
- Common Mistakes to Avoid When Installing Wooden Floors
- How to Maintain and Clean Wooden Floors After Installation
- When to Call a Professional for Wooden Floors Installation
- Frequently Asked Questions
Wooden Floors: The Complete Installation Guide
Few home upgrades deliver the lasting impact of wooden floors. Whether you are transforming a Victorian terrace or finishing a modern open-plan extension, the right floor sets the tone for every room - combining warmth, durability, and undeniable visual appeal that holds its value for decades.
What This Guide Covers
From choosing the correct species and board profile to preparing your subfloor, managing humidity, and applying the final finish, every stage of a professional installation is explained here in clear, actionable steps. You will also find practical aftercare advice to protect your investment long after the last plank is laid.
Why Expertise Makes the Difference
Wooden floors demand precision at every step. London Building Services has completed installations across Greater London for over a decade, integrating this specialism within full house renovations and bespoke interior projects - and this guide reflects exactly that hands-on, detail-driven approach.
Why Wooden Floors Are the Right Choice for Your Home
Few home upgrades deliver the same combination of beauty and practicality as wooden floors. They age gracefully, resist everyday wear, and adapt to virtually any interior style - from period Victorian terraces to open-plan contemporary extensions.
Built to Last, Built to Impress
Wooden floors are engineered for longevity. With proper installation and maintenance, a quality floor can serve a household for decades without losing its character. Key benefits include:
- Durability that handles heavy foot traffic without compromising appearance over time.
- Aesthetic versatility that suits traditional, modern, and mixed interior styles equally well.
- A measurable increase in property value at the point of resale.
- Seamless integration with complementary finishes such as bespoke joinery or interior painting.
A Smart Long-Term Investment
Choosing wooden floors is not just an aesthetic decision - it is a financial one. Properties across the Greater London area consistently attract stronger buyer interest when fitted with high-quality flooring, making it one of the most cost-effective upgrades a homeowner can make.
Types of Wooden Floors: Solid, Engineered, and Laminate Explained
Not all wooden floors are created equal. Understanding the differences between solid, engineered, and laminate options is the first step toward choosing a floor that suits your space, budget, and lifestyle.
Solid Wood: Raw, Authentic Character
Solid wooden floors are cut from a single timber plank - typically 18-20mm thick. They offer unmatched authenticity and can be sanded and refinished multiple times over decades. However, they're sensitive to humidity fluctuations, making them less suitable for basements or kitchens.
Engineered and Laminate: Smarter Alternatives
Engineered boards feature a solid hardwood veneer bonded over multiple plywood layers, delivering excellent stability in moisture-prone environments. Laminate, meanwhile, mimics the look of wood through a photographic layer over a fibreboard core - durable and budget-friendly, but not refinishable once worn.
How to Choose the Best Wooden Floors for Your Space
Choosing the right wooden floors is rarely straightforward - it demands honest consideration of how a room actually lives, not just how it looks on a mood board. A hallway absorbing daily foot traffic calls for a harder, denser species like oak, while a bedroom tolerates softer, warmer options. Start by answering three practical questions: How much traffic does the room receive? What is the existing colour palette? What level of maintenance are you genuinely prepared to commit to?
Match Wood to Room Function
Different spaces impose different demands on wooden floors. A kitchen or open-plan living area benefits from engineered boards, which handle humidity fluctuations better than solid timber. Consider:
- High-traffic areas need hardwoods rated for durability, such as oak or ash.
- Humid rooms require engineered construction to prevent warping or cupping.
- Period properties often suit wider, character-grade planks for authentic visual weight.
Budget and Long-Term Value
Budget shapes every decision, yet quality wooden floors should be viewed as an investment rather than a cost. Cheaper boards may demand refinishing or replacement within a decade, while premium options - properly installed and maintained - can outlast the building itself.
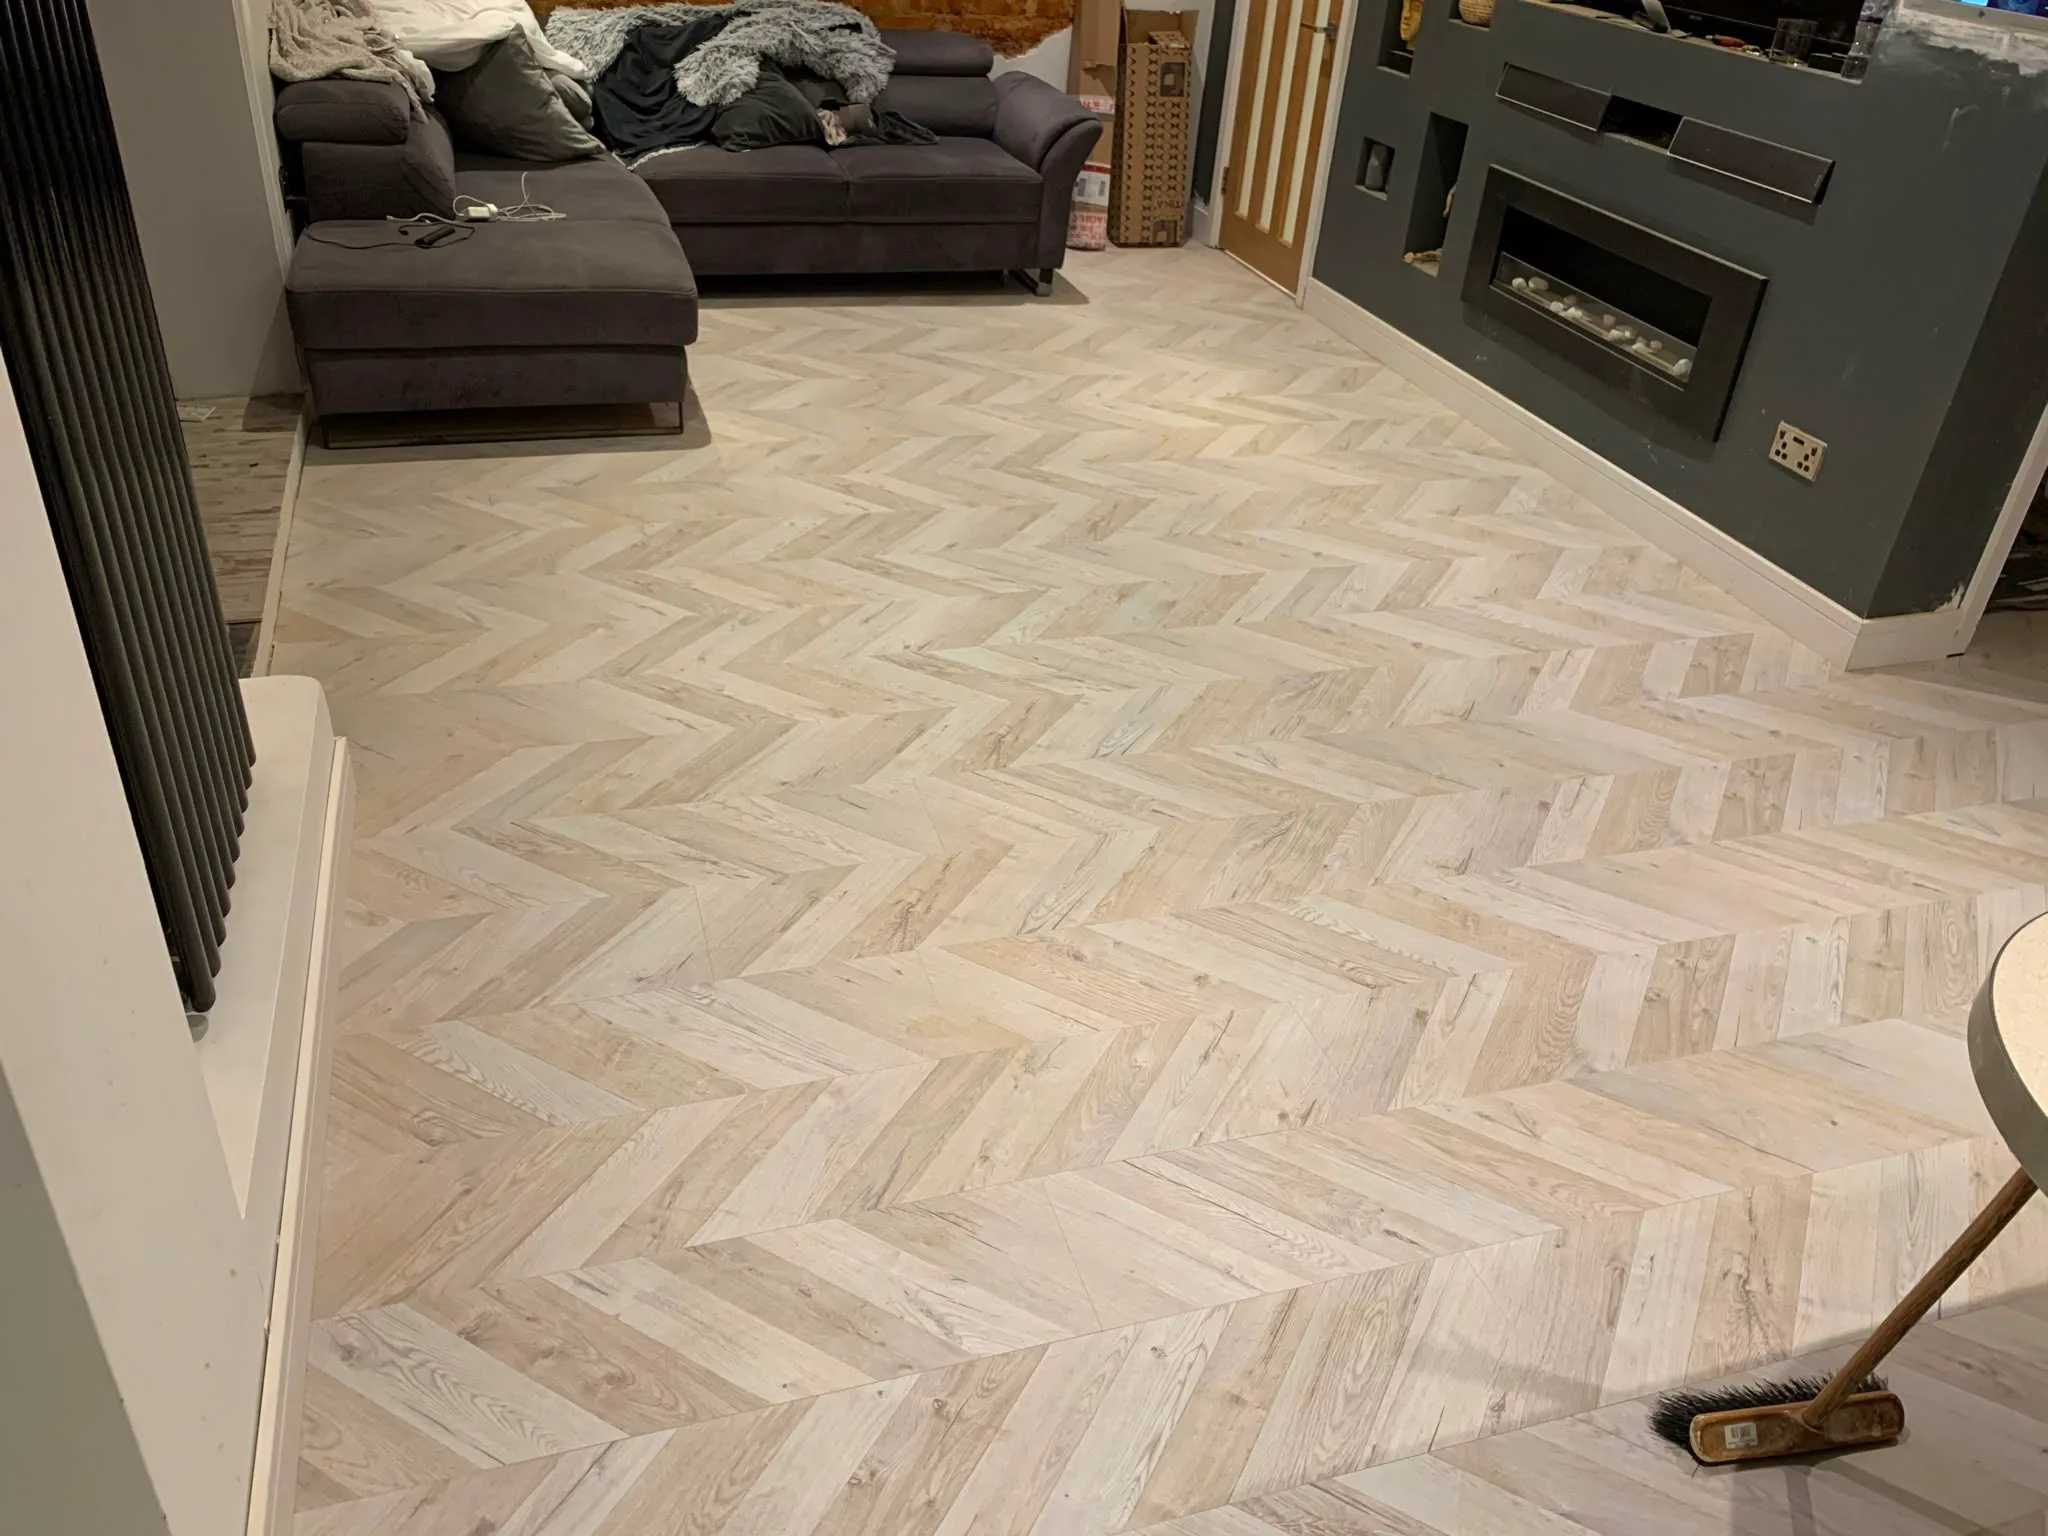
Tools and Materials You Need Before Installing Wooden Floors
Getting the preparation right separates a flawless finish from a floor that creaks, warps, or fails prematurely. Before the first plank goes down, assembling the correct tools and materials is non-negotiable - skipping this stage is the most common mistake seen on renovation sites across London.
Essential Tools for the Job
You will need a tape measure, chalk line, circular or mitre saw, flooring nailer, tapping block, pull bar, and - critically - a moisture meter. Wooden floors react directly to humidity levels, and ignoring that reading before installation almost guarantees future problems.
Materials, Fixings, and Finishes
Stock up on your flooring boards, suitable underlayment, adhesive or fixing nails, and expansion gap spacers. Factor in finishing products too: lacquer, hardwax oil, or wax matched to your chosen timber. Properly sourced materials ensure wooden floors deliver lasting performance and genuine visual impact throughout the full life of the renovation.
Subfloor Preparation: The Foundation of Flawless Wooden Floors
Most installation failures trace back not to the wood itself, but to what lies beneath it. Before a single plank is laid, the subfloor must be thoroughly inspected, cleaned of debris, and assessed for moisture levels - because even minor humidity imbalances can cause wooden floors to warp, buckle, or separate at the joints over time.
Level Surface, Lasting Results
Any deviation greater than 3mm across a 1.8-metre span demands correction before installation begins. High spots are ground down; low points are filled with levelling compound. Skipping this stage is one of the most costly shortcuts a homeowner can make - and one of the most common.
Structural Integrity Matters
Loose floorboards, rotting joists, or poorly bonded concrete slabs will undermine even the finest wooden floors. London Building Services always conducts a full structural assessment before work begins, ensuring the foundation beneath is every bit as solid as the finish above it.
Humidity and Acclimatisation: Protecting Your Wooden Floors Before Fitting
Wood is a living material - it expands and contracts in response to moisture and temperature. Skipping acclimatisation is one of the most common, and most costly, mistakes made during installation. Boards installed without proper preparation can fail within weeks, regardless of how well the fitting itself was executed.
Why Acclimatisation Matters
Before fitting wooden floors, boards must be stored in the installation room for a minimum of 48 to 72 hours. This allows the timber to reach equilibrium with the ambient humidity and temperature. Without this step, even precisely cut boards can warp, gap at the joints, or cup along the edges - problems that are difficult and expensive to reverse.
Ideal Conditions to Maintain
The room should hold a relative humidity of 40-60% and a temperature between 18-22°C, both during acclimatisation and after installation. Once laid, wooden floors remain sensitive to seasonal fluctuations, so consistent heating and adequate ventilation are essential for long-term structural stability.
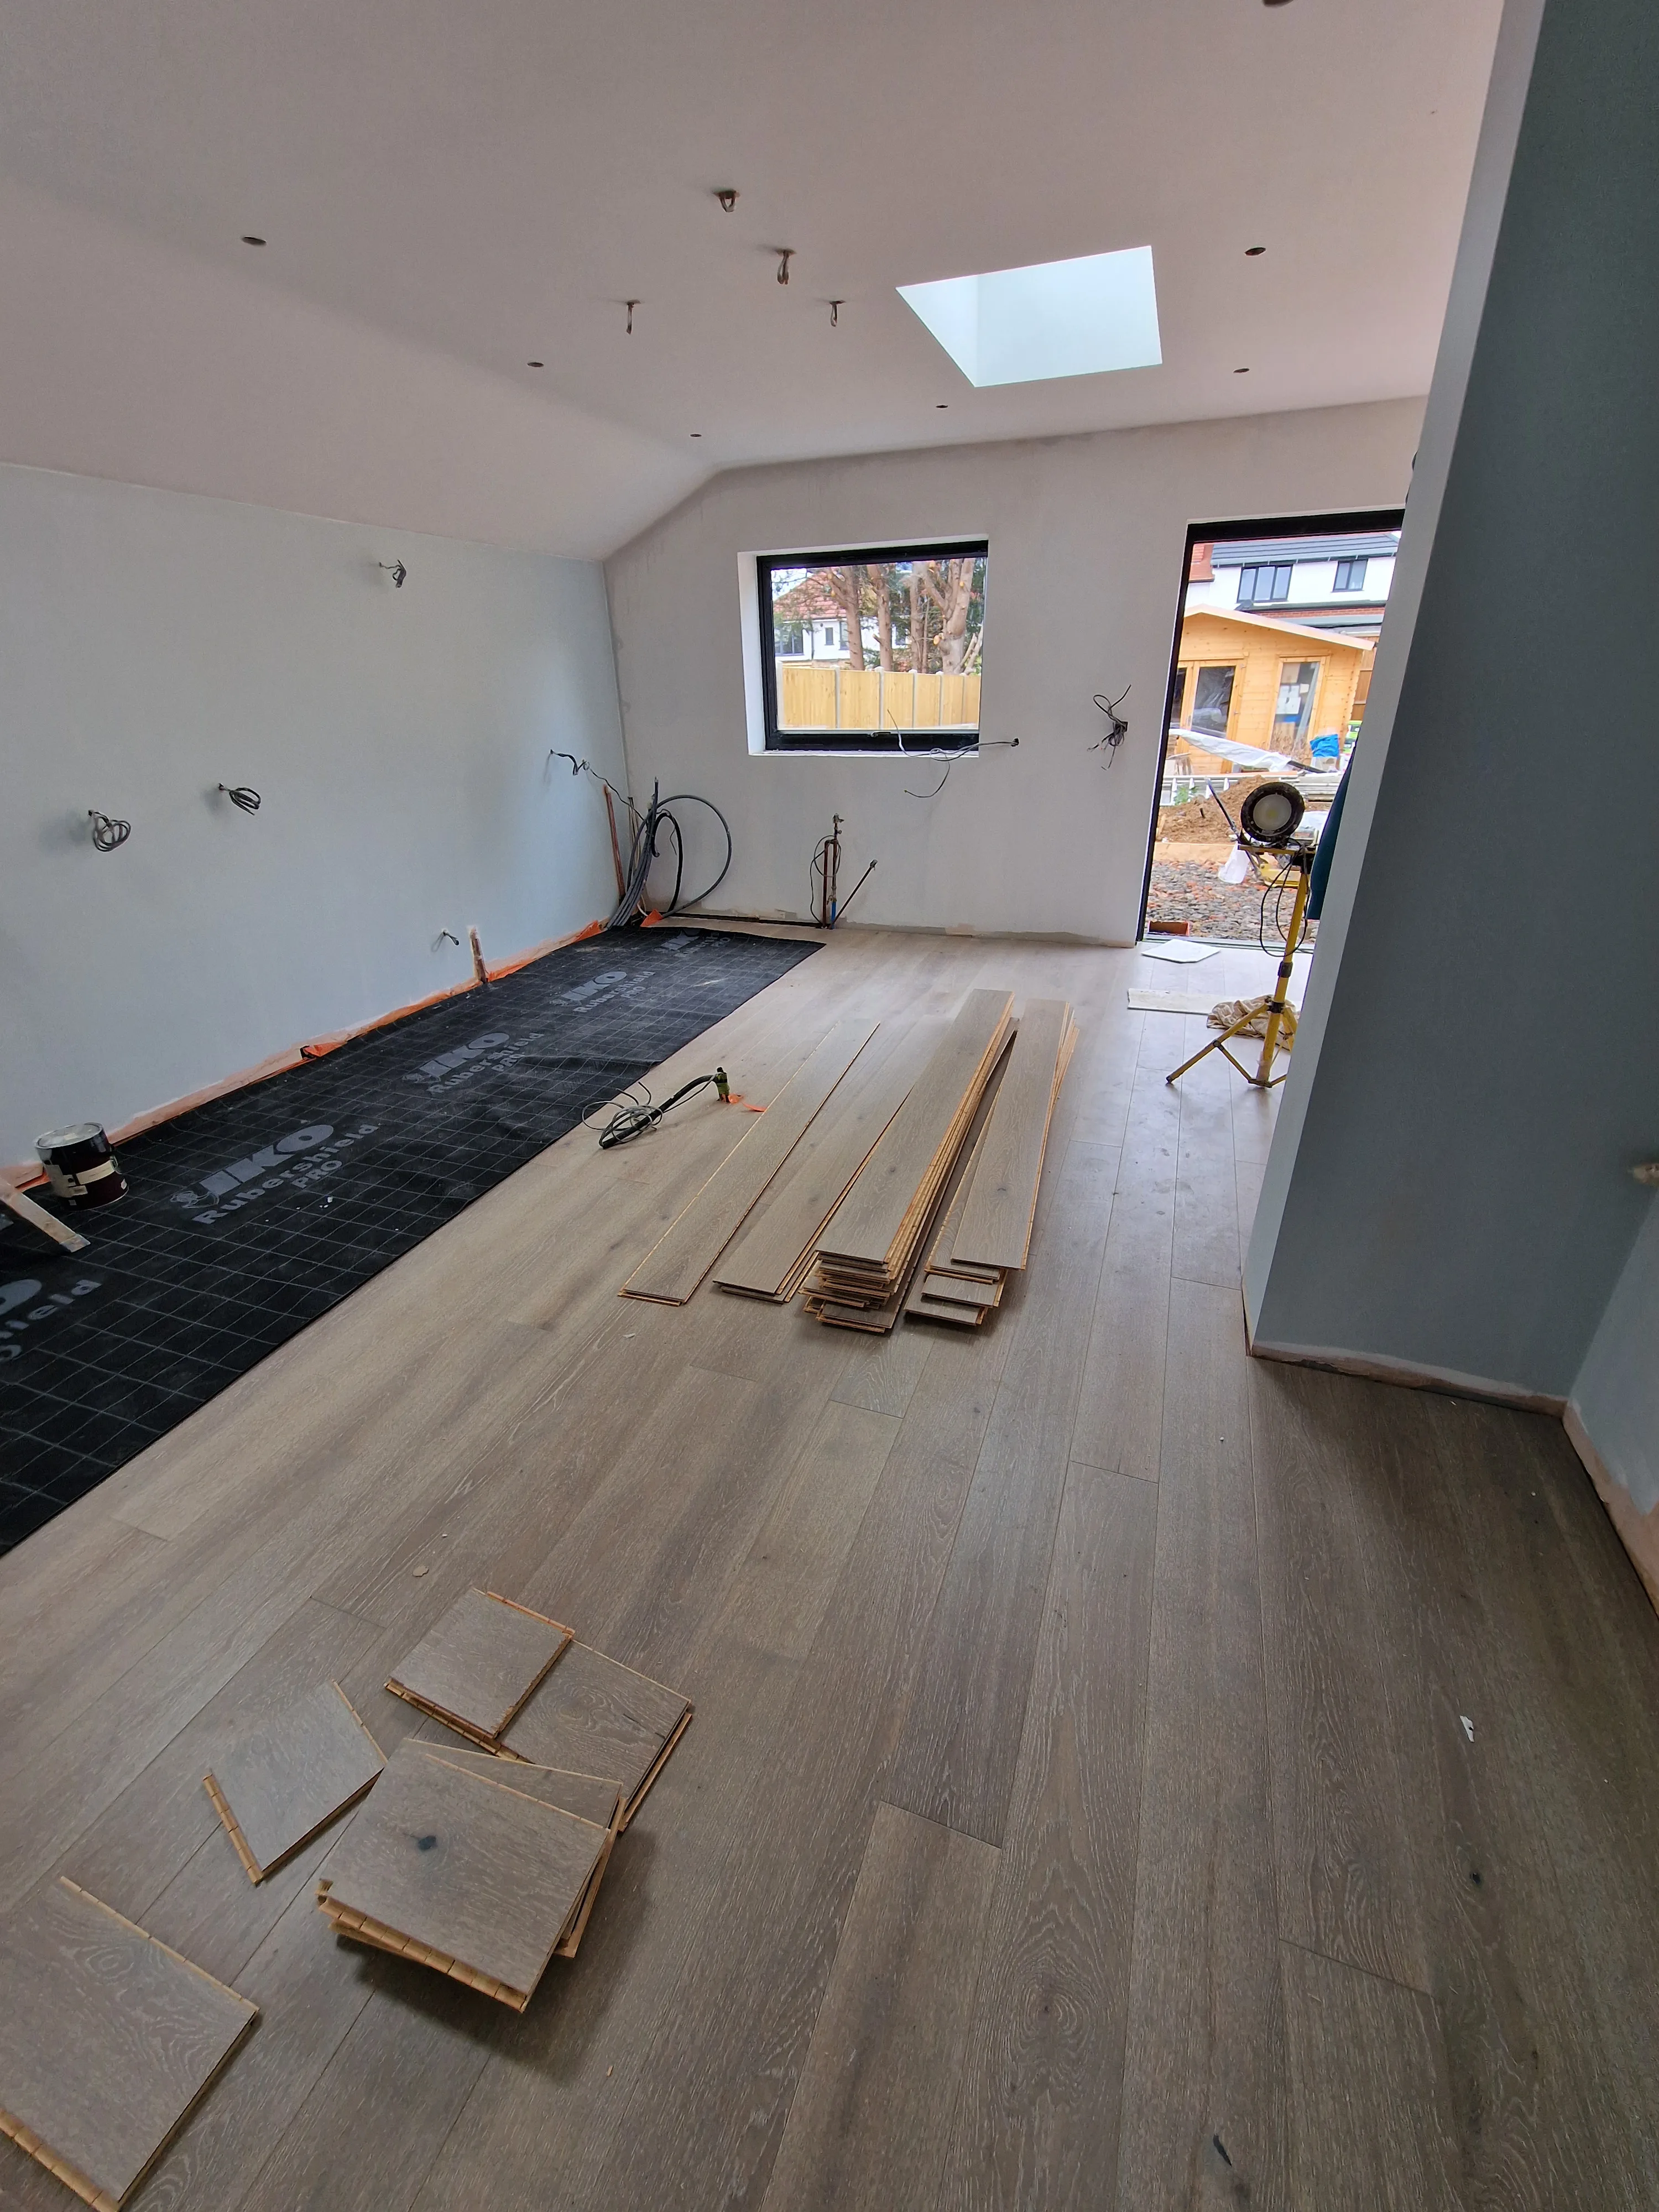
Step-by-Step Installation Process for Wooden Floors
Every successful installation begins long before the first plank goes down. The subfloor must be level, clean, and dry - even minor imperfections lead to squeaking, warping, or premature failure. At London Building Services, we assess moisture levels and correct any irregularities before a single board is touched. Getting this foundation right is what separates lasting results from costly repairs.
Laying the First Rows
The opening rows determine the direction and rhythm of the entire floor. Boards are carefully measured, cut to size, and positioned with consistent expansion gaps along the walls to accommodate natural movement. Wooden floors expand and contract with shifts in temperature and humidity - these gaps are non-negotiable.
Securing and Finishing
Once the main field is laid, the final rows are precision-cut and locked into place. Skirting boards conceal expansion gaps, transitions are fitted between rooms, and the surface receives its protective finish. The result - properly installed wooden floors - feels solid underfoot, looks seamless, and delivers lasting performance for decades.
Fitting Wooden Floors Around Doors, Skirting Boards, and Obstacles
Precision cutting separates a professional finish from an amateur one. When fitting wooden floors around doorframes, the undercut saw is your best friend - trim door casings just enough to slide planks cleanly underneath, eliminating awkward gaps that compromise the final look. Use a scrap offcut as a depth guide for consistent results every time.
Working Against Skirting Boards
Remove skirting boards before laying begins where possible, then refit them over the finished floor for a seamless edge. When removal isn't practical, maintain the required expansion gap and conceal it with a matching beading strip. The gap is non-negotiable - wooden floors expand and contract with humidity, and restraining that movement causes warping.
Navigating Pipes and Irregular Features
Radiator pipes, hearths, and bay window recesses demand careful templating. Transfer complex shapes onto planks using a card template before cutting - patience here pays dividends. In older London properties especially, no two rooms are perfectly square, so treating each obstacle individually is what keeps wooden floors looking genuinely bespoke rather than fitted as an afterthought.
Finishing and Sealing Wooden Floors for Long-Term Durability
The finish you choose determines how wooden floors perform over years of daily use. Oils penetrate wood fibres from within, delivering a natural, matte look that ages gracefully. Lacquers build a hard surface film with strong resistance to scuffs and spills - ideal for busy households. Hardwax oil blends both methods, offering penetration and surface protection that is straightforward to maintain and repair locally.
Sealing Against Moisture and Wear
Without proper sealing, moisture seeps into the grain, triggering swelling, warping, and early deterioration. A correctly finished floor resists scratches, pet claws, and everyday impacts. London Building Services selects the right product for each environment, ensuring wooden floors remain beautiful and structurally sound for the long term.
Maintenance After Finishing
Re-oiling or recoating at regular intervals sustains the protective layer and avoids costly repairs. Well-maintained wooden floors can easily last decades without full replacement.
Common Mistakes to Avoid When Installing Wooden Floors
Even the highest-quality wooden floors will underperform if the installation process cuts corners. The most damaging mistakes happen before a single plank is laid - and they're entirely preventable.
Never Skip Acclimatisation
Wooden floors must adjust to the room's temperature and humidity levels before fitting begins. Skipping this step causes boards to expand or contract post-installation, resulting in unsightly gaps or dangerous buckling. Allow at least 48-72 hours on-site before starting.
Subfloor and Gap Errors
Poor subfloor preparation and incorrect expansion gaps are equally costly mistakes:
- Uneven subfloors cause creaking, movement, and premature wear across the wooden floors.
- Expansion gaps that are too small allow boards to push against walls and warp under pressure.
- Gaps that are too large create visible spaces that collect dirt and ruin the finished look.
Getting these fundamentals right is what separates a floor that lasts decades from one that fails within months.
How to Maintain and Clean Wooden Floors After Installation
Beautiful wooden floors demand consistent, straightforward care to preserve their appearance and structural integrity for decades. Daily maintenance starts with dry sweeping or vacuuming to remove dust and grit - the primary culprits behind surface scratches. Avoid excess moisture at all costs; use a lightly dampened mop rather than a soaking wet one, and dry any spills immediately.
Choosing the Right Cleaning Products
Skip harsh chemical cleaners entirely. Instead, opt for pH-neutral, wood-specific solutions that clean effectively without stripping the finish. Avoid steam mops - the combination of heat and moisture penetrates the wood grain and causes warping over time.
Refinishing for Long-Term Brilliance
Wooden floors benefit from periodic refinishing every seven to ten years, depending on foot traffic levels. Light sanding followed by a fresh coat of varnish or oil restores their original lustre and adds a renewed layer of protection - keeping your investment looking exceptional well into the future.
When to Call a Professional for Wooden Floors Installation
Some projects genuinely reward a confident DIYer. Wooden floors installation, however, is not always one of them. When the stakes involve costly materials, structural complexity, or environmental conditions, cutting corners quickly becomes cutting losses.
Signs DIY Will Cost More
Recognise these scenarios before picking up a saw:
- Your subfloor is uneven, damp, or structurally compromised - no amount of careful laying compensates for a poor foundation.
- You are working with solid hardwood, which requires precise acclimatisation, cutting, and finishing to avoid warping or gaps over time.
- The room features irregular angles, doorframes, or underfloor heating that demands technical precision.
- You need to match existing wooden floors in adjacent spaces, where grain, colour, and level alignment require an expert eye.
Where Professional Experience Pays Off
London Building Services has spent over a decade handling exactly these challenges across Greater London. Their integrated approach - combining thorough subfloor preparation, precise fitting, and professional finishing - ensures wooden floors perform flawlessly and add lasting value to your home.
Frequently Asked Questions
What are the main types of wooden floors available?
The article describes three main types: solid wood floors (cut from single timber planks, 18-20mm thick, offering authentic character but sensitive to humidity), engineered boards (featuring a hardwood veneer bonded over plywood layers, providing excellent stability in moisture-prone environments), and laminate flooring (which mimics wood through a photographic layer over a fibreboard core, offering durability and affordability, though lacking authentic wood).
How long do quality wooden floors last?
With proper installation and maintenance, quality wooden floors can serve a household for decades without losing their character. Solid wood floors can be sanded and refinished multiple times throughout their lifespan, making them a genuinely long-term investment. They are engineered for longevity and resist everyday wear effectively.
Do wooden floors increase a property's resale value?
Yes, wooden floors represent a smart financial investment. Properties across the Greater London area consistently attract stronger buyer interest when fitted with high-quality flooring. The article identifies wooden floors as one of the most cost-effective upgrades a homeowner can make, delivering measurable increases in property value at the point of resale.